No-Drill WRX License Plate Mount
Print instructionsHardware included
Back mount
×1Front mount
×1License plate frame
×1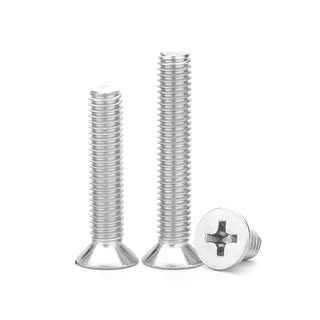
#10-24 × 1″ screws
×4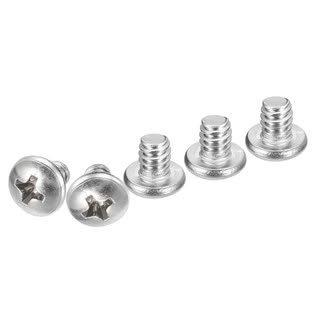
#10-24 × ¼″ screws
×4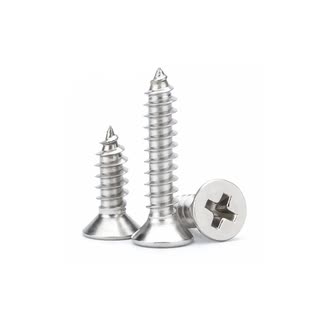
#8 × ¾″ self-tapping screws
×3Tools required
#2 Phillips screwdriver
Optional
Masking tape
Installation steps
Insert the back mount
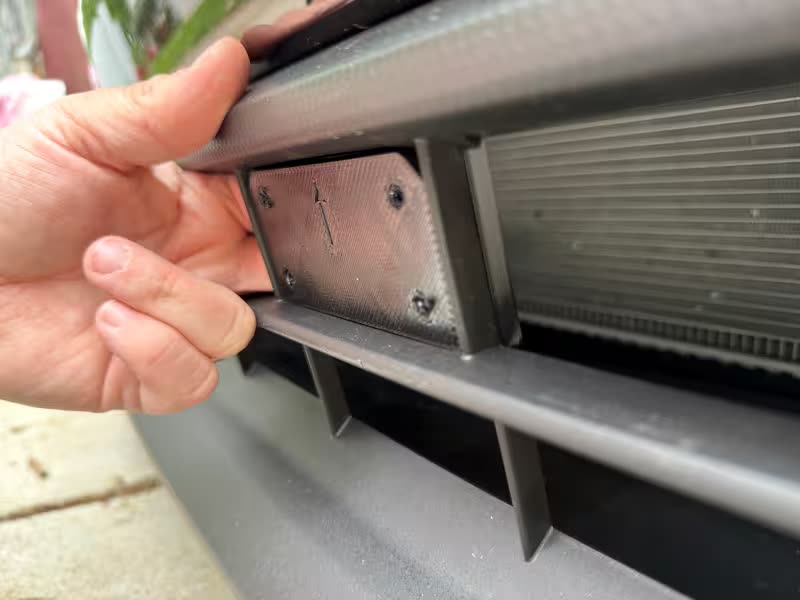
Orient the back mount with the raised side facing you and its two cut-off corners at the top. Slide it through the lower grille opening and fit the raised section into the top hole. Its cut corners match the grille’s, so it only fits one way, sitting flush against the back of the grille.
Position the front mount
Press the front mount against the back mount. If needed, use a strip of masking tape to temporarily hold the two pieces together.
Join the two mounts
Using the four 1″ screws, fasten the front and back mounts together through their aligned holes. Tighten with your screwdriver until snug.
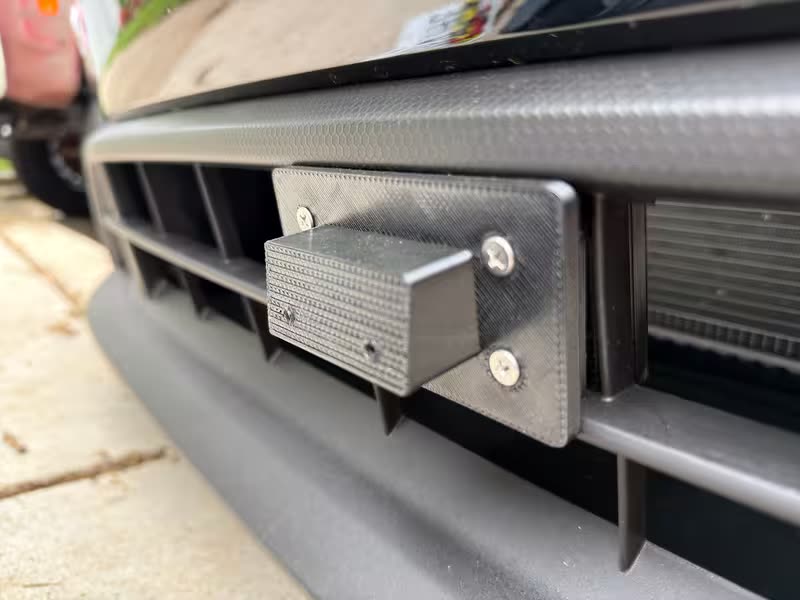
Attach the plate frame
Hold the license plate frame up to the installed mount base, aligning it with the three pre-formed pilot holes. Drive the 3 self-tapping screws through the pilot holes to secure the frame. Avoid over-tightening to prevent stripping the holes.
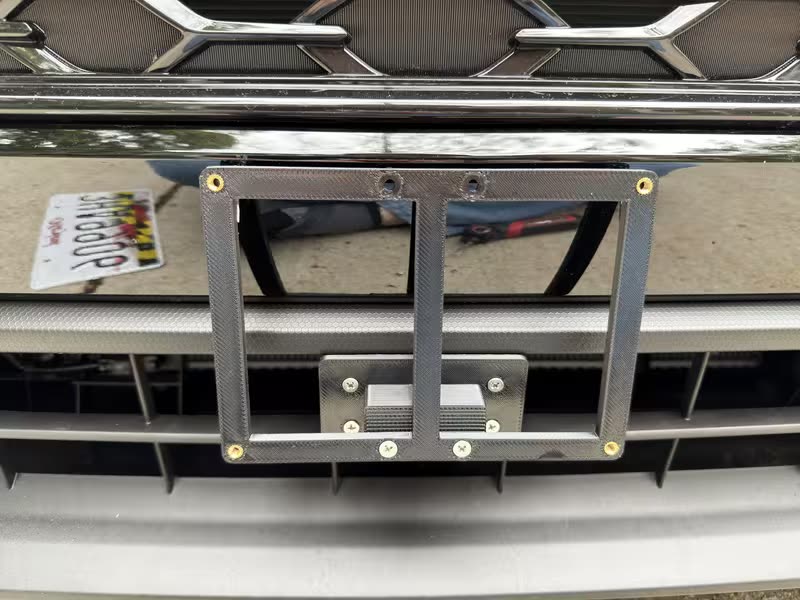
Mount the license plate
Attach your license plate to the frame using the 4 remaining ¼″ screws. Tighten until secure.
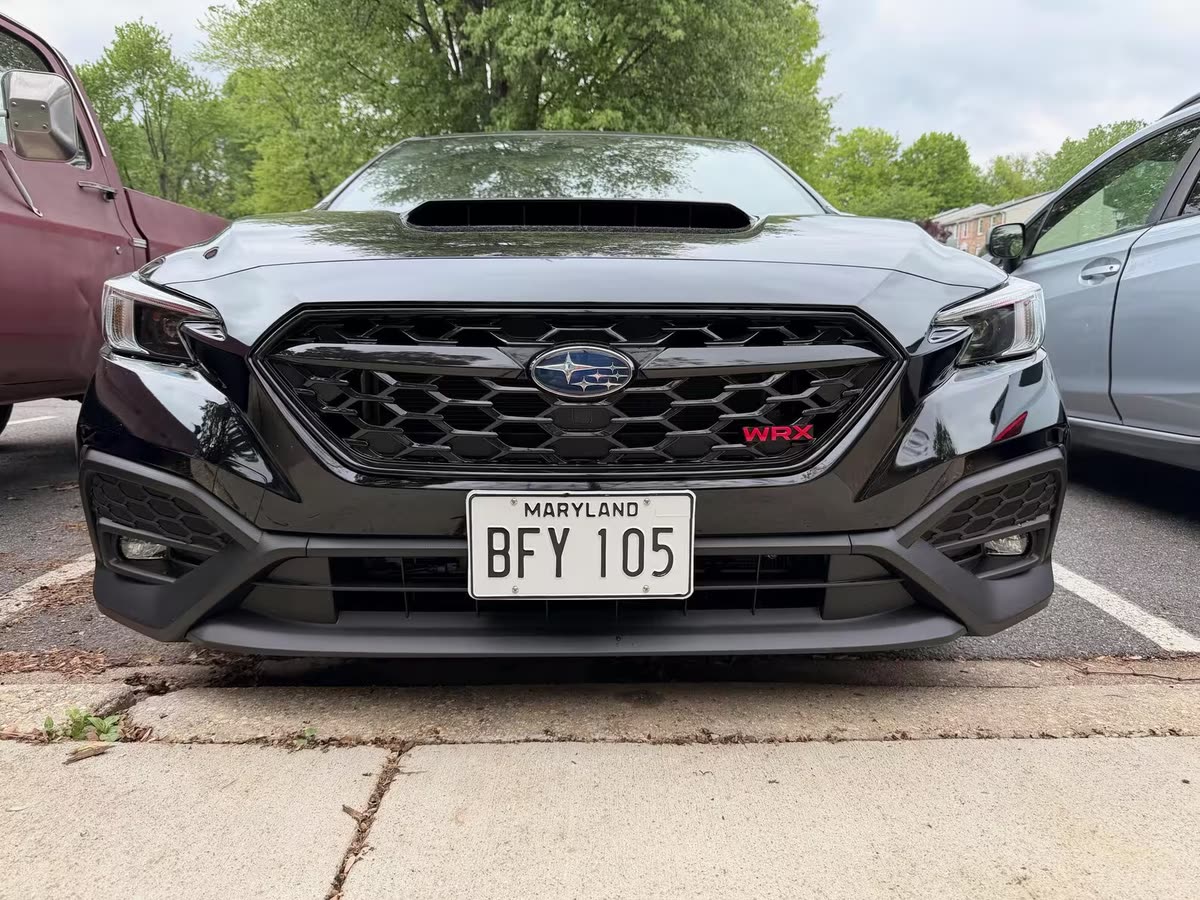
Installation complete. No drilling required, all fasteners are mechanical and reversible. If the mount feels loose after installation, recheck that both mounts are flush, and all 4 joining screws are fully tightened.
Note: Pre-production model used for documentation and images. Final product may vary slightly in looks, but the steps are the same.